
In This Article
Follow BestForAndroid


The short answer: Alok, K, Skyler, Dimitri and Wukong are still the five characters that decide fights this season. Alok and Dimitri keep a squad standing, K turns stored energy into health over long matches, Skyler rips apart the cover that stalls your push, and Wukong buys an exit nobody sees coming. Learning two of them properly beats owning all five badly.
Every Free Fire match gets decided twice. Once when the squad picks its landing spot, and again in the four or five seconds when someone panics and burns a skill a beat too early. Character choice sits underneath both moments, which is why it starts more arguments in voice chat than weapon loadouts ever do.
Choosing well starts with knowing what an active or passive ability actually does, rather than what the splash art promises. Those skills decide how long you and your squad stay upright, and one of them pressed at the right instant can flip a round you had already mentally written off.
The five below keep showing up in ranked lobbies for a reason. Four of them keep people alive; the fifth gets you out. Here is what each skill does at maximum level, the moment worth spending it on, and the mistake that quietly wastes it.

1. Alok, the pick almost everyone starts with
Alok is the first character most players chase, and for once the popular answer is the right one. Drop the Beat lays a small aura around him that heals every teammate inside it and speeds the whole group up at the same time. Two effects, one button, no aiming required.
The healing is the part people talk about. The movement speed is the part that wins rounds. A squad moving 15% faster crosses open ground in less time, which means fewer seconds spent as a target, and Alok is one of the only characters who hands that out to everyone standing near him rather than keeping it for himself.
Where it goes wrong is timing. Trigger it once the shooting has started and you spend most of the aura crouched behind a wall watching it tick away. Trigger it half a second before you break cover and the same skill turns into a squad-wide repositioning tool. Alok is at his best when a fight is already going badly and somebody has to drag the team out of it.
Drop the Beat
5m aura, 5 HP a second, +15% movement speed, 10 seconds
Press it just before the squad breaks cover, not after the first teammate goes down.
2. K, the support that rewards patience
K rewards planning in a way no other support character does. His kit runs on Energy Points, the blue bar most players collect by accident and then forget about, and his whole job is converting that bar into health for himself and for the people near him.
He works in two modes. Psychology mode quietly generates EP while nothing is happening, roughly 3 points every couple of seconds up to a ceiling of 150. Jiu-jitsu mode flips that stored energy into a 500% conversion rate for nearby allies, so every mushroom and EP item your squad has been hoarding suddenly heals five times as hard. He also carries 50 extra maximum EP, which matters more than the number suggests.
Part of that ticks over on its own, which makes K forgiving for newer players who freeze up under fire. The rest does not. Parking him in one mode for an entire match is the most common way to waste him, and because the swap carries a cooldown, the decision has to happen before the fight rather than in the middle of it.
Master of All
500% EP conversion for nearby allies, +50 max EP, 20 second mode swap
Switch into jiu-jitsu before you push. The swap cooldown will not wait for you mid-fight.
3. Skyler, the answer to gloo walls
Skyler solves the most infuriating situation in Free Fire: an enemy who simply will not come out. Riptide Rhythm sends a sonic wave that damages up to five gloo walls at once, turning a turtled squad into an exposed one without you walking into their line of fire to do it.
The half of his kit everybody forgets is the healing. Every gloo wall Skyler places himself returns health, up to 9 points at maximum level. That recovery does not stack, so spamming walls buys you nothing extra, but a player who uses cover the way you should be using it anyway is quietly topping up all match long.
Fire the wave early and it hits empty air, and you have handed away a 40 second cooldown for nothing. Fire it the moment a squad seals itself in and you open three players at once. Skyler looks like an aggression pick and plays like a patience one, which is exactly why so many people bounce off him.
Riptide Rhythm
Damages 5 gloo walls up to 100m away, 40 second cooldown, 9 HP back per wall you place
Hold it until an enemy squad commits to cover. A wave into open air costs you the next forty seconds.
4. Dimitri, the healer who works after you go down
Dimitri does something no other healer on this list does. His zone keeps working when you are already on the floor.
Healing Heartbeat drops a field roughly 3.5 metres across that gives everyone inside 3 HP a second for 15 seconds. The clause that matters is the second one: teammates knocked down inside that field can pick themselves back up, with nobody standing over them and eating bullets for the privilege. In a tight fight, that quietly turns a lost three against four back into an even one.
Placement is the entire skill. The zone does not follow you, so dropping it somewhere exposed only marks the spot where your squad will die a little more slowly. Set it behind cover first, then fight forward into it, and it becomes the reason your team is still there when the circle closes.
Healing Heartbeat
3.5m zone, 3 HP a second for 15 seconds, downed allies inside can revive themselves
Place it behind cover, then push into it. A zone in the open is a marker for the enemy.
5. Wukong, the escape artist
Wukong is the only character here who heals nobody, and he still belongs on the list, because walking away from a fight you were losing is its own form of survival.
Camouflage turns him into a bush for up to 15 seconds. Movement drops by 20% while the disguise holds and firing your weapon ends it instantly, so it is a repositioning tool rather than an ambush one. The clever part is the cooldown. It runs 200 seconds, which sounds brutal, except that knocking an enemy down resets it to zero. Played well it is available almost whenever you want it. Played badly you see it twice a match.
The players who look ridiculous with Wukong are the ones who sprint at people while shaped like shrubbery. The ones who look genuinely frightening move slowly, stick to terrain that already has bushes in it, and reappear from an angle nobody thought to cover.
Camouflage
15 seconds as a bush, 20% slower, 200 second cooldown that resets on every knockdown
Move like scenery rather than like a player. One shot fired drops the disguise on the spot.
How to unlock these characters easily
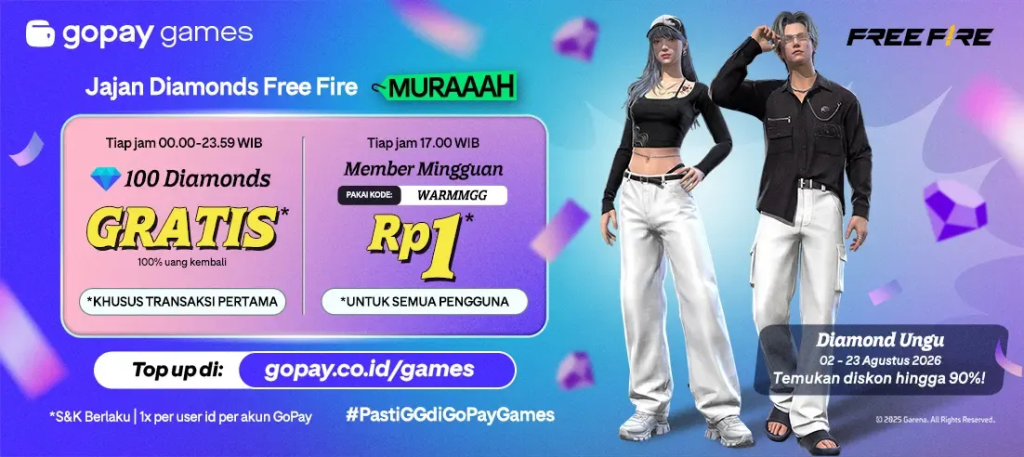
Characters unlock with in-game currency, and the patient route is grinding it out one event at a time. If you would rather skip that, a top fup ff diamonds purchase is the fastest way in. Buying through a trusted platform like GoPay Games gets you a quick transaction, a final price with no hidden fees, and every purchase from Rp10,000 upward carries a shot at bonus treasure chest rewards. Less time waiting around, more time actually playing toward the character you want.
GoPay Games also runs a 100% cashback offer for Free Fire players buying 100 Diamonds, worth up to Rp16,000, running all day while the promo window is open. Those windows rotate, so check the current terms on the page before you pay.
One practical note whichever route you take. Diamonds bought inside the app through Google Play sit under Play billing, which includes a Google Play refund window for accidental purchases, while a reseller top-up follows that reseller’s own terms instead. Worth knowing which set of rules you are under before a mistyped player ID turns into a support ticket.
Which one should you learn first
These five hold their place near the top of ranked play for the same reason: each gives a squad an edge in positioning, defence or pressure that raw aim cannot replace. Getting genuinely good with two or three of them will move your win rate further than owning the whole roster ever does, because timing and situational awareness only arrive through repetition.
Where you should spend that practice depends on how you already play and, more usefully, on how you already lose.
| Character | Pick it if you | The mistake to avoid |
|---|---|---|
| Alok | Play in a squad and push a lot | Triggering the aura after the shooting starts |
| K | Play long matches and collect EP items | Sitting in one mode for the whole game |
| Skyler | Keep losing pushes to gloo walls | Spending the wave on cover nobody is behind |
| Dimitri | Fight in tight spaces and get knocked often | Dropping the zone somewhere exposed |
| Wukong | Play solo or rotate across open ground | Moving at full speed while disguised |
If you are starting from nothing, start with Alok. His skill is forgiving, it helps everyone around him, and it teaches the habit every other character on this list depends on, which is pressing the button early enough for it to matter.
Frequently asked questions
- Do I need all five characters to compete?
No. Two of them learned properly will do more for your rank than five you press at random. Most consistent ranked players run one healer and one utility pick, then leave the roster alone and spend the practice on positioning instead. - Does Free Fire MAX change how these skills work?
No. MAX is the higher-fidelity client and it shares your account and progress, so the same characters and the same numbers come with you. The Free Fire MAX listing on Google Play is where the patch notes land if you want to see what moved before you install anything. - Does my phone actually affect skill timing?
More than most players expect. Every ability here is a fraction-of-a-second decision, and Android’s own guidance flags a play session as slow once a quarter of its frames land more than 50ms apart, which works out at roughly 20 frames a second. Reaction windows vanish at that point no matter who you picked. - Which character is best for solo play?
Wukong, comfortably. With no teammates around, healing auras lose most of their value, while a disguise that resets its cooldown on every knockdown is exactly as strong alone as it is in a full squad. - Is it worth levelling a character all the way up?
For the two you actually play, yes, and the gaps are wider than people assume. Wukong’s disguise lasts 10 seconds at level one and 15 at level six. Skyler’s cooldown falls from 60 seconds to 40. Spreading the same shards across six characters leaves you with six weak versions of a strong kit.
Where to start this week

- Pick two, not five. One character who keeps the squad standing, one who gets you out of trouble. That covers almost every situation ranked will throw at you.
- Practise the half second before the button. Every skill here is a timing decision, and timing is the only part that repetition genuinely fixes.
- Level the two you play. Maximum level cuts cooldowns hard and adds seconds of duration exactly where seconds decide the fight.
- Watch your own replays. A wasted skill is almost always obvious in hindsight and almost never obvious live.
None of this replaces aim, and none of it saves a bad rotation. What it does is stop you losing fights you were already winning. Pick one character, learn the exact moment their skill pays for itself, and the rest of the roster starts making a lot more sense.


