In This Article
Follow BestForAndroid
Isn’t it funny how much of our lives revolve around audio these days? Enjoying music on the go, listening to podcasts in the background while driving or doing house chores, or even voice memos that we forget to delete. It’s all just part of the routine now.
But here’s a question: Have you ever wondered why some audio files seem to eat up half your device’s storage while others barely make a dent?
That’s where formats come into play, although WAV files sound fantastic. Who wouldn’t want to listen to studio-quality lossless audio, right? Though you transferred one playlist, your phone’s storage is suddenly half consumed. So, the real question is, do you really need that level of audio quality?
That’s where the MP3 format comes to the rescue. This leads us to why not go for something that still sounds great but doesn’t treat your storage space like an all-you-can-eat buffet? It offers a smaller file size while maintaining high-quality audio. And let’s be honest, are your ears going to notice the difference when you’re listening to your favorite jam using the regular headphones?
The next time you find yourself with a folder full of WAV files, consider that converting to MP3 format and making room for more content you love would make more sense.
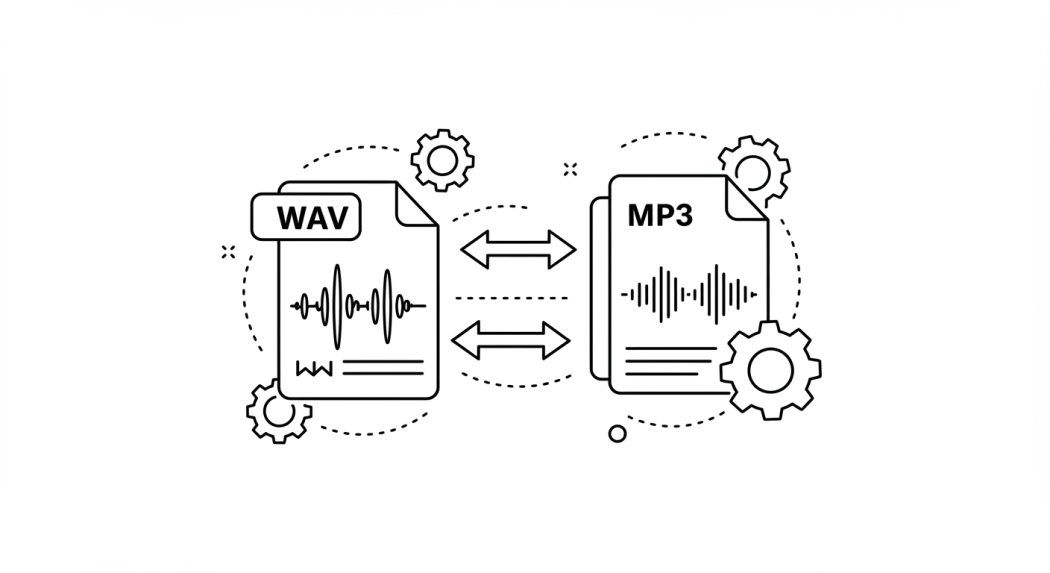
Why Convert WAV to MP3?
Almost everyone listens to music or podcasts these days, but most people never really stop to wonder what the actual difference is between all these audio formats. Formats like WAV and MP3 can sound somewhat technical, right? However, it’s actually quite simple once you break it down.
- WAV Format: WAV files are like the VIP treatment for your audio, as they are designed for professional production. Pure, uncompressed, full-quality sound, precisely the way it was recorded. It’s a perfect format if you’re doing some professional editing, producing music, or just want the absolute best sound. But what’s the catch here? Those files are massive, consuming nearly half of your storage space. Great for studios, not so great for your phone.
- MP3 Format: This format is practical and designed for easy storage and consumption. It shrinks the file size down using a technique called “lossy compression.” Yes, technically, you lose some sound quality in the compression process. Still, unless you’ve got super sharp ears or studio-grade headphones, you probably wouldn’t even notice, especially if the bitrate is high enough.
So the question is: do you really want to burn through all your storage for perfection, or would you rather have a format that’s easy to share, easy to stream, and doesn’t make your device cry for help? That’s where knowing how to convert WAV to MP3 comes in handy. It’s one of those little skills that just makes life smoother, especially if you’ve got a bunch of audio files piling up and you actually want to, you know, use your storage for other things too.
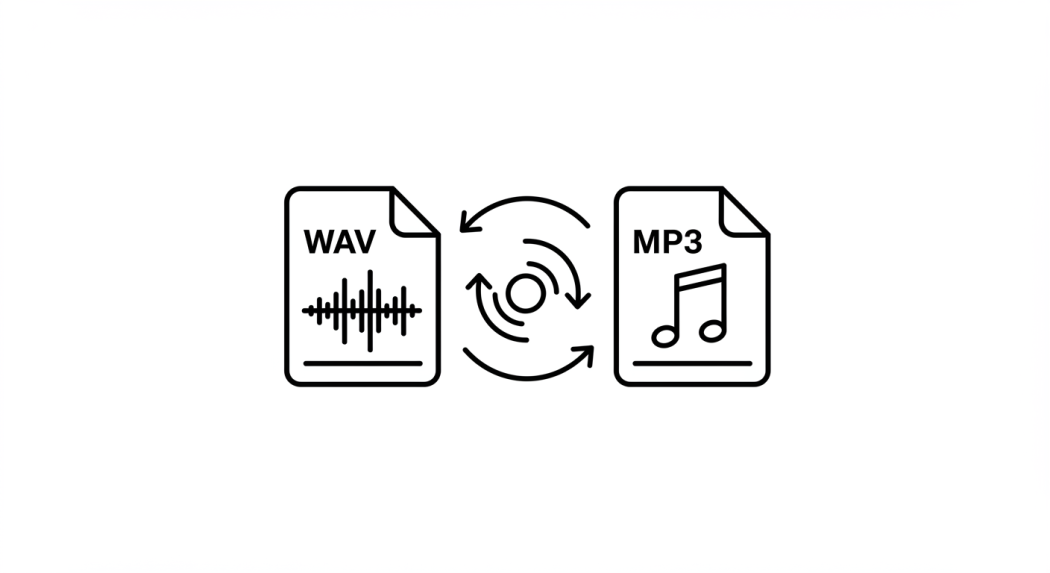
Step-by-Step Process for Converting WAV to MP3
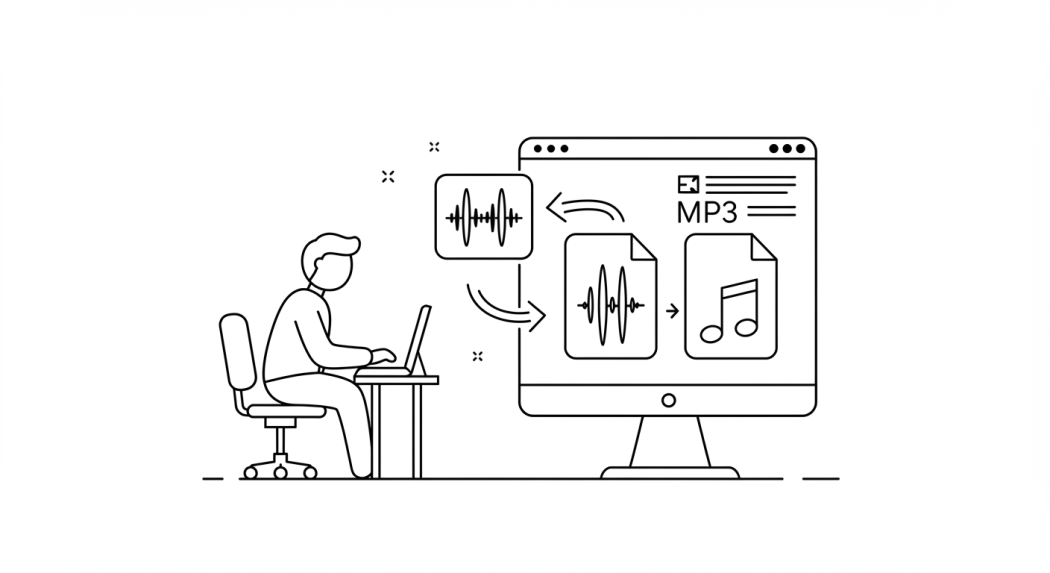
Willing to convert WAV to MP3? That’s way easier than people make it sound, and there are a bunch of ways you can do it depending on what works for you:
Using Audacity (a free and reliable method)
- Install Audacity: First, download and install Audacity. It’s free. Don’t forget the LAME encoder, as that’s what allows you to export files as MP3.
- Open a WAV File: After installation, launch Audacity and open your WAV file. You can do so by going to File > Open or by dragging the file straight into the workspace. It’s super simple.
- Export as MP3: Go to File > Export > Export as MP3 when you’re ready to convert. It will ask you to select your encoding settings. We recommend setting the bitrate to at least 192 kbps so that your audio still sounds clear and crisp.
- Edit Metadata: Before saving, you will have the option to fill in the metadata, which includes the artist’s name, song title, album, and other details. This is great for keeping your audio library organized.
- Save: Once you’re happy with all that, just hit Save, and you’ll get an MP3 file.
Using VLC Media Player (easy method for all users)
- Open VLC: Simply launch VLC (the same app you likely use to watch videos). It can handle audio conversion too.
- Select Media > Convert/Save: Go to the top menu, hit Media, and then choose Convert/Save.
- Add the WAV file: Click that Add button, select your WAV file, and you’re halfway there.
- Choose MP3 Profile: Next, click Convert, and then select the MP3 option from the Profile dropdown.
- Set Destination: Choose where you want your converted MP3 file to be stored, hit Save, and that’s it!
Using Online Converters (fast but with potential limitations)
- Select an Online Converter: Open your browser and navigate to one of the online converters, such as CloudConvert, Convertio, or Zamzar. There are plenty of options readily available.
- Upload the WAV File: Click the Select File button, upload your WAV file, and let the site handle the rest.
- Set MP3 as Output: Make sure MP3 is selected as the output format. Most of these sites default to it, but it’s always good to double-check.
- Download: Once the conversion is complete, click Download, and your MP3 will be ready to use.
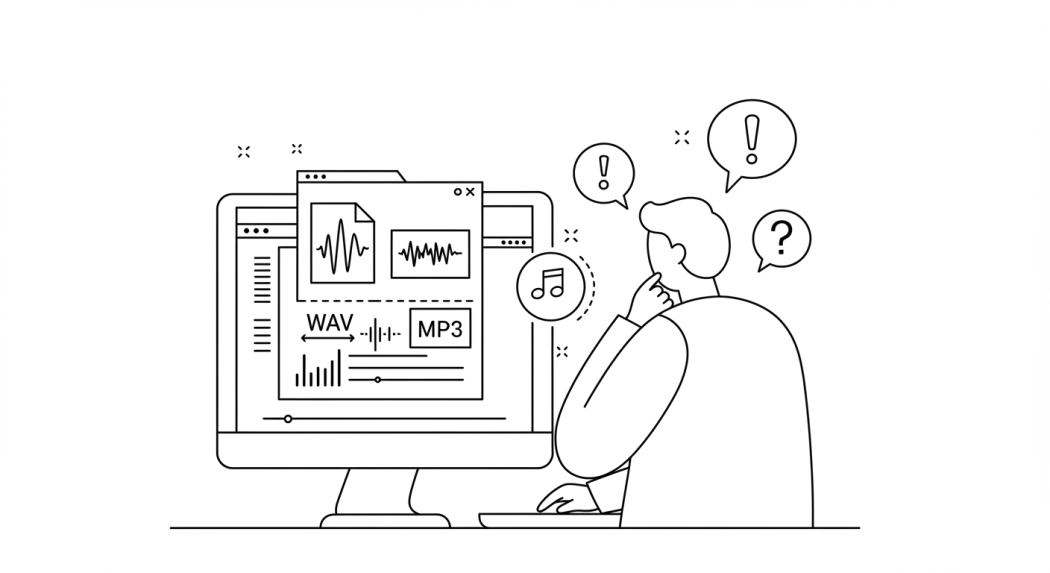
Key Considerations for Best Quality

If you convert a WAV file to MP3, the secret sauce isn’t just hitting “convert” and calling it a day. Your settings make a huge difference in how your final audio file sounds and how much space you save.
- Bitrate Selection: The first thing is bitrate. This is essentially the primary consideration when it comes to sound quality versus file size. If you want your MP3 to sound crisp and not like it was recorded inside a tin can, we recommend going for at least 192 kbps or higher.
- VBR vs. CBR: You’ve got to choose between VBR and CBR. CBR means Constant Bitrate. It’s the same quality all the way through, but VBR, or Variable Bitrate, is smarter. It adjusts based on the audio. If there’s a complex, detailed section, it uses more data; if it’s something simple, like silence or a single voice, it saves space. In most cases, we recommend selecting VBR for the best quality.
- Channels: Speaking of efficient choices, i.e., channels. If you’re dealing with music, Joint Stereo is your best friend. It maintains the stereo effect, but does so in a more space-friendly manner. But is it just a podcast or a voice memo? Mono’s fine, and it’ll save you even more space.
- Sample Rate: Lastly, the sample rate. Honestly, just stick to the original. Typically, this is 44.1 kHz (CD quality) or 48 kHz (used in video or professional audio). You don’t need to adjust these settings unless you’re doing something particular, because changing them can actually make the audio sound worse.
Common Pitfalls to Avoid
- Re-encoding MP3 to MP3: Whatever you do, don’t take an MP3 and re-save it as another MP3. We can understand that it sounds harmless, but every time you do that, you’re compromising more of the audio quality. It’s kind of like photocopying a photocopy. Always use the original WAV or another lossless format if you need to create a new MP3 version.
- Low Bitrates: While we’re discussing this, never settle for extremely low bitrates when converting, especially if it’s music. Anything below 128 kbps? Yeah, you’ll hear the difference, and that won’t be in a good way. At least 192 kbps or higher for music will save your ears from regret.
- Forget Metadata: One thing people often overlook is metadata. This data includes artist name, song title, and album info. It sounds small, but trust us when we say this: Nothing is more annoying than scrolling through your playlist and seeing a bunch of “Unknown Artist-Track 01” files. Fill in that information while you’re converting. In the future, you will be glad you did this!
End Notes
You know, converting a WAV file to an MP3 format is kind of like sending your audio on a diet – same great taste, way less baggage!
It’s super simple once you know the drill. All you need to do is grab the right tool and boom, you’re halfway there. The magic happens when you fine-tune the settings. So, at the end of the day, you’re giving your audio the perfect glow-up while ensuring it continues to sound sharp, yet light enough to share, store, or stream without your device throwing a tantrum. Audio adulting at its finest!


