In This Article
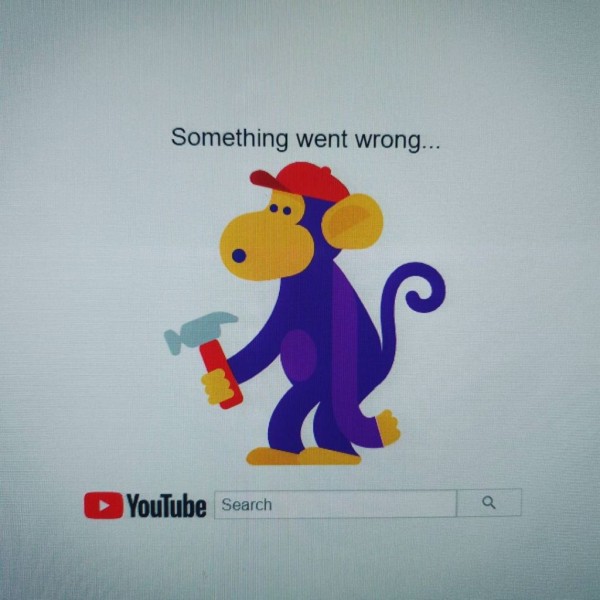
Whenever the interface or your device fails to respond normally that is exactly when you are going to see the Unfortunately, System UI has stopped error message on your Android. And the error message continues to pop up on the screen again and again with the interval of two to three seconds.
The system UI is something that is displayed on the screen, is linked to the system or the system app, and is related to the visual side of the Android OS. However, since the error seems to appear repeatedly, which makes the device unusable while at the same time troubleshooting becomes frustrating too.
So without any further ado, let’s just quickly jump onto the four quick ways to fix the error message:
#1. Restart Your Android Device
This is one of the most basic steps that anyone should perform on the Android device if any error message pops up as it has been proven to fix a lot of issues and bugs. Moreover, restarting clears most of the temporary cached data.
Here is how you can do this:
- Press and hold the power button until a menu pops up on the screen.
- You should be able to see the restart option in the menu. Tap it.
- Wait for the device to reboot.
If you are unable to find the reboot option then simply power off and then power on your Android device, which is a process also known as power cycling.
#2. Change Background Process Limit
Android is designed to keep the important or frequently used processes in the background and store them in the RAM as cached data, which speeds up the loading and usability of the device while at the same time improving the performance of the device.
Since Android is highly customizable so you can go ahead and tinker with the total number of background processes your Android device can run at any given moment. The services and processes usually running include WhatsApp, email app, launcher, and other apps that continue to run in the background to send you the push notifications.
To be able to modify the value of the background process limit, you need to enable developer options first as the settings are hidden in that menu. If it is not enabled then you can follow the initial steps where I am going to show you how to enable developer settings. And then we will jump to the steps to change the background process limit.
- On your Android device, go to Settings.
- Tap on the About phone option.
- Tap on the Build number seven times. This will enable the Developer Mode on your device.
- You can now go to the Settings menu and there you should be able to find the new option i.e. Developer Options. Tap it.
- Within the menu, you need to scroll and find the Apps section and within that, you will find the Background process limit.
- Tapping the option will bring the menu from where you can select either Standard limit or at most 3 processes.
- Once you have made your selection, restart the device for the changes to take effect.
Once rebooted, you can see if the selected process limit is working for your device or not. You can then do ahead and make the necessary changes.
#3. Double Check If Your Device is Running the Latest Android OS
Device manufacturers release the latest updates to the Android operating system through Over-The-Air (OTA) updates to rectify known issues that could cause issues here and there with the usage of your device.
So it is recommended to have the latest version of Android OS installed and to see if your device is up to date, here’s what you need to do:
- Open Settings.
- Search for the Software update option and tap it.
- Depending on your Android device, tap on either Check for update button or the Download and install button.
- Wait for a while for your device to check for any updates by connecting to the servers.
If any update is available then your device will let you know about it and ask you to schedule the installation. And if in case there is no update available then it will show you a message that says, “Your Android system is up to date.”
#4. Clear Cache of System UI along with Google Play Services, Play Store, and Google App
Usually whenever a popup of “system UI has stopped on Android” appears on your device, you can fix it by clearing cached data of known apps on which most of the Android services and apps are dependent. This is one of the simplest fixes.
Here is how you can do this:
- On your device, head over to the Settings.
- Go to the Apps section.
- Here you should see the list of apps, now you can either manually scroll through to find the System UI app or use the search option to quickly find the app. Once found, simply tap it to access the settings.
- Tap on the Storage option.
- Now you should be able to see the Clear data and Clear cache buttons. Tap on the Clear cache option and you are done.
You can perform the same steps for other apps including Google Play Services, Play Store, and Google app to clear their cached data.
Which method helped you fix the error system UI has stopped on Android?
I hope the tutorial helped you in fixing the unfortunately System UI has stopped on Android error messages on your tablet or smartphone device.
If the steps and guide helped in resolving the error popup message then let us know in the comments section below, your opinions are our fuel and we read each one of them and respond as well! 🙂
Also, apart from that, if you were able to resolve the System UI has stopped error on Android using any other way or you know about other workarounds then let me know in the comments and our team will make sure to include it into the blog post to increase the usability of the content.


